QUBES Partner Projects use a specific type of group (supergroup). While partner project groups have the same functionality as regular Hub groups, they are formatted differently and have additional formatting considerations. If you manage a Partner Project group and would like to be transitioned to the new template, please contact your project's QUBES liaison.
Features of partner groups are outlined below with information on managing those features. Note that you need to be a manager in your group to make these changes.
Collapsible Header
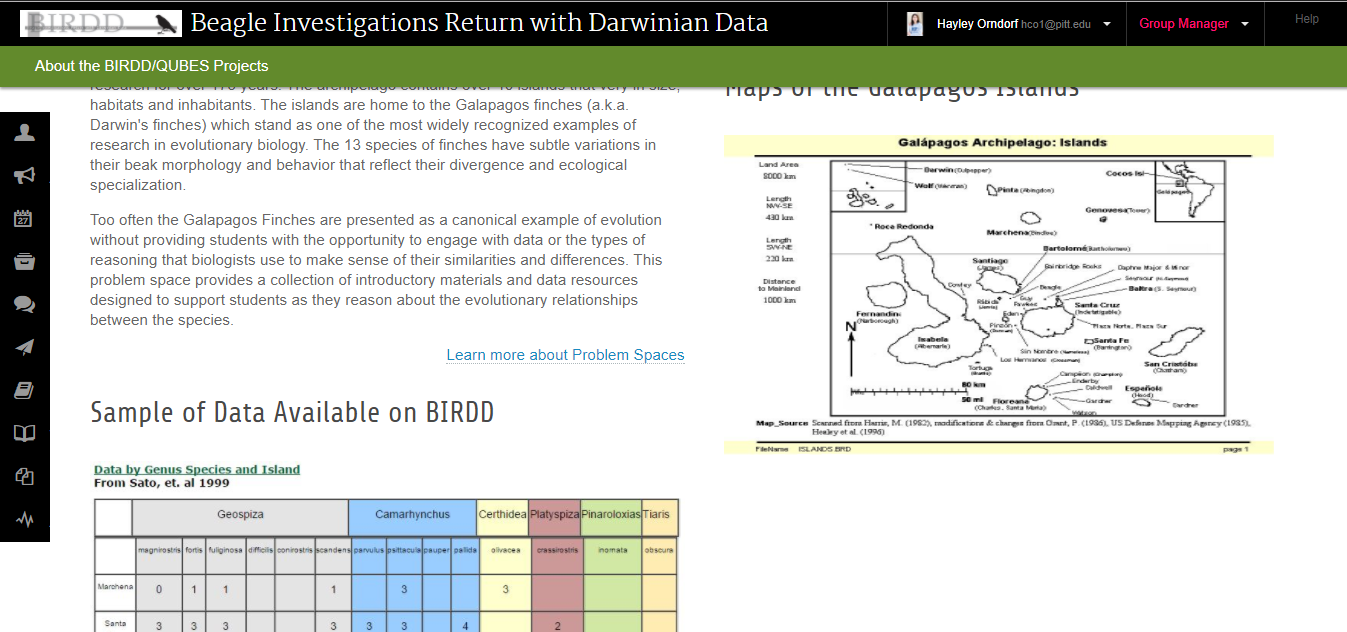
When first arriving to a partner project group the header will be expanded. In the upper right of the black bar, users can see if they are logged in and their group role. If they are not logged in, they will see the option to login and if they are not group members they will see the option to join the group or request membership, depending on the group settings.
Below the black bar is the banner image. Overlaid on the banner image is the group name and logo. Below the banner image is the green menu bar. Initially, there will be no pages listed on the menu bar; they must be added manually.

Upon scrolling, the banner image collapses, and the black and green menu bars "stick" to the top of the screen. This allows for constant access to other pages in the group and member functionality while scrolling through pages.
Banner Image
To change the banner image from the default green, find an image with the dimensions 1425 x 150 that will represent your group. Before uploading the image to the group name it "banner.jpg"
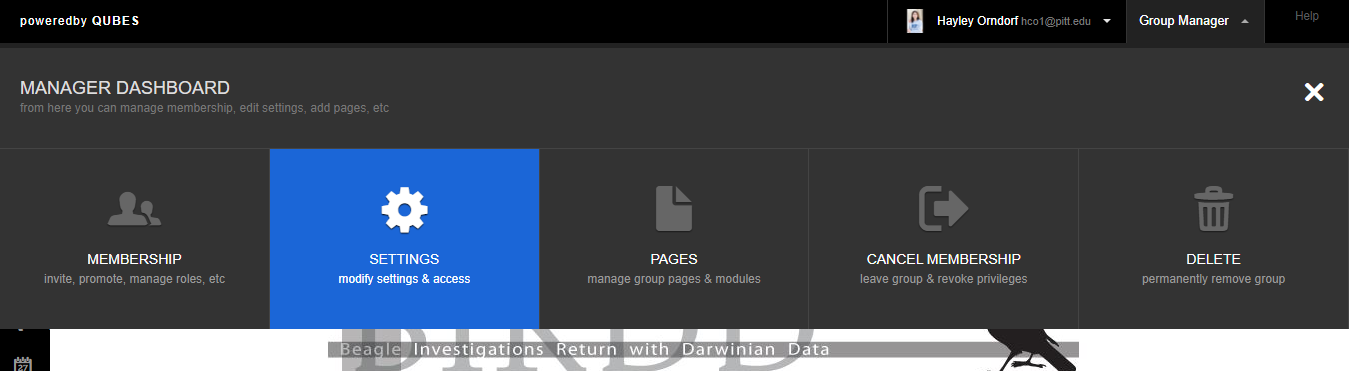
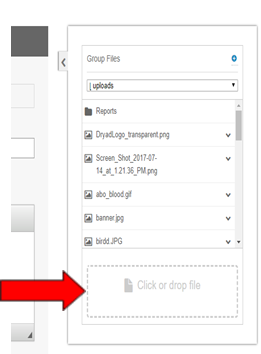
To upload, navigate to the group's Settings by clicking the arrow beside Group Manager and clicking Settings. On the right side of the page there is a Group files box. Upload the banner image here, and the banner will update automatically.
Header Functionality
The header is used for page navigation within the group. By default, no pages are listed in the green page menu. Pages must be manually added using the page editor. To manage pages, again, navigate to the Group manager menu and click "Pages."
New pages you create can be added to the menu. Note, the Overview page cannot be added to the menu, because it is the home page, which can be accessed by clicking the group logo or banner image. To add a page to the menu, click on the page. On the right sidebar, under Settings, click the drop down menu under Category.

Before adding a page to the menu for the first time, you will have to create the menu category. To do this, click "Other." For title, write "menu" and choose any color. Then select "menu" as the page category. Now you will be able to select "menu" for other pages you'd like to appear in the menu.
Sidebar Functionality
The other feature to note about the new template is the expandable sidebar. Just mouse over the sidebar to make it expand. All community features that are turned on in the group will appear here. You can manage which options are turned on and their access permissions through the Settings page.
